前言
Ya, http 套件可以讓你串接API,你可以利用他來做HTTP請求,是一個很ㄅㄧㄤˋ的工具喔。
安裝
1 | dependencies: |
IOS & Android 設定
你需要打開IOS和Android的設定檔來開啟一些限制。
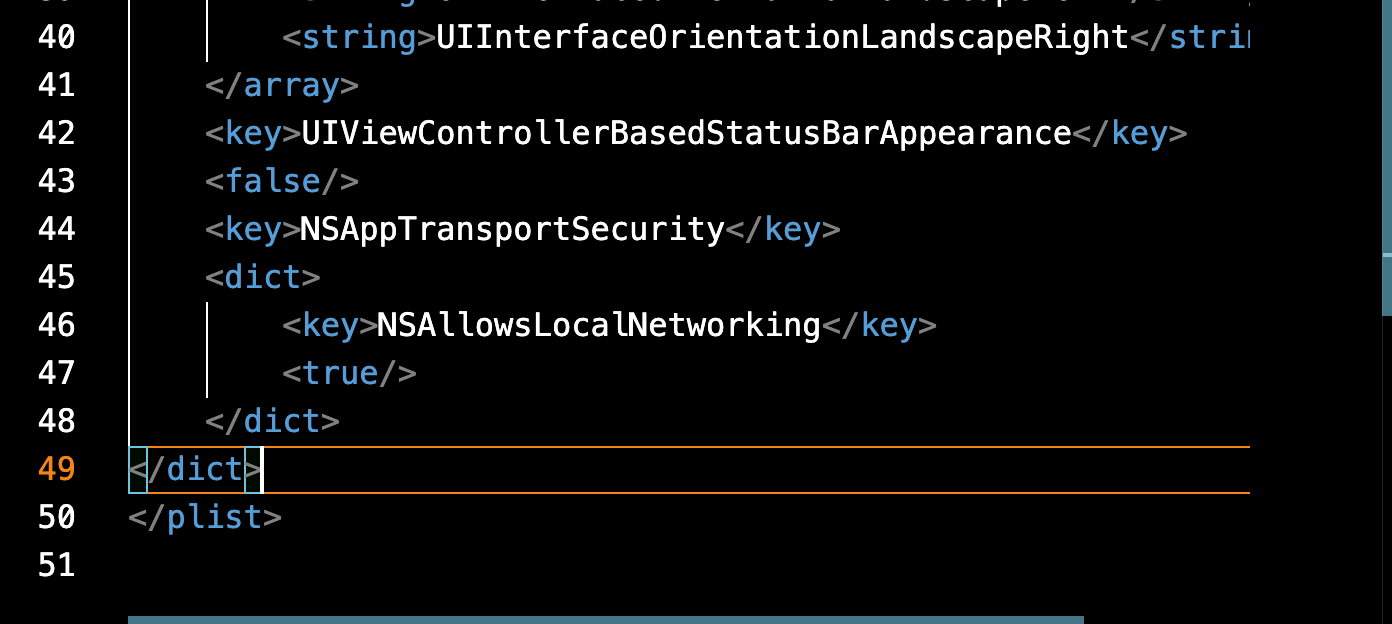
IOS檔案
路徑/ios/Runner/Info.plist。
1 | <key>NSAppTransportSecurity</key> |
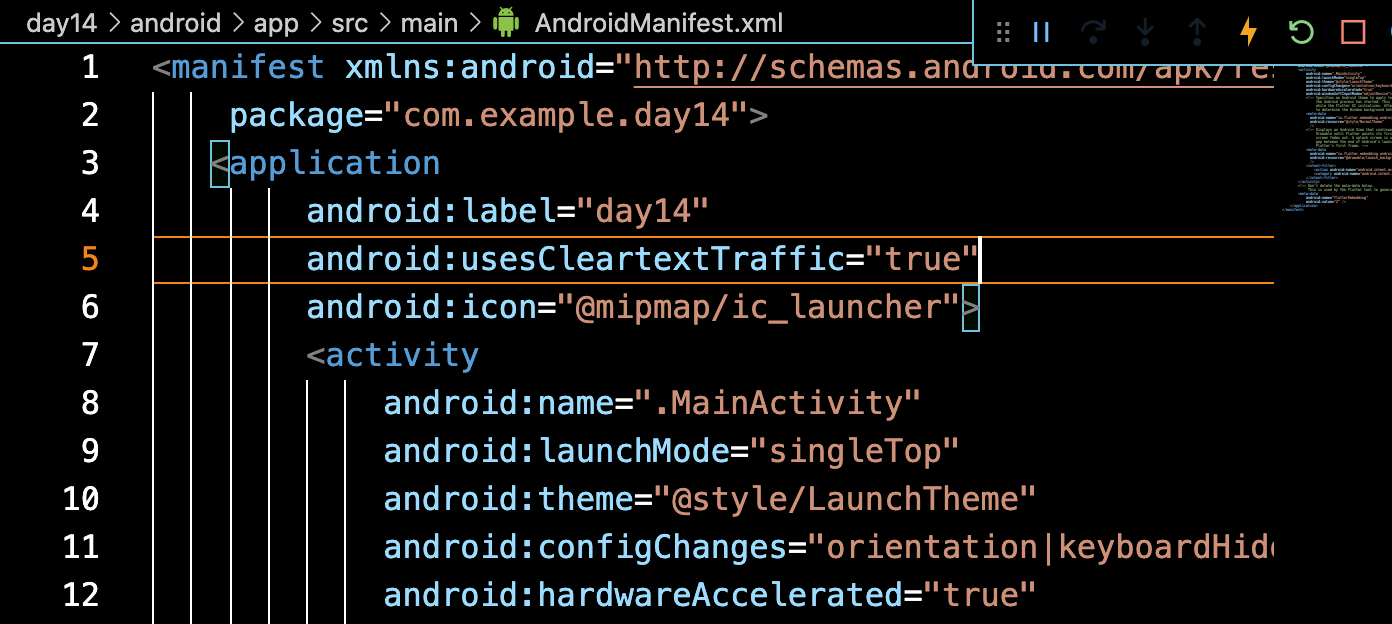
Android檔案
路徑/android/app/src/main/AndroidManifest.xml。
1 | android:usesCleartextTraffic="true" |
創建一個API
在這裡我使用JSON Server來當做測試的API,安裝完json-server後你可以修改db.json來編輯你的API格式。
1 | $ json-server --watch db.json |
1 | { |
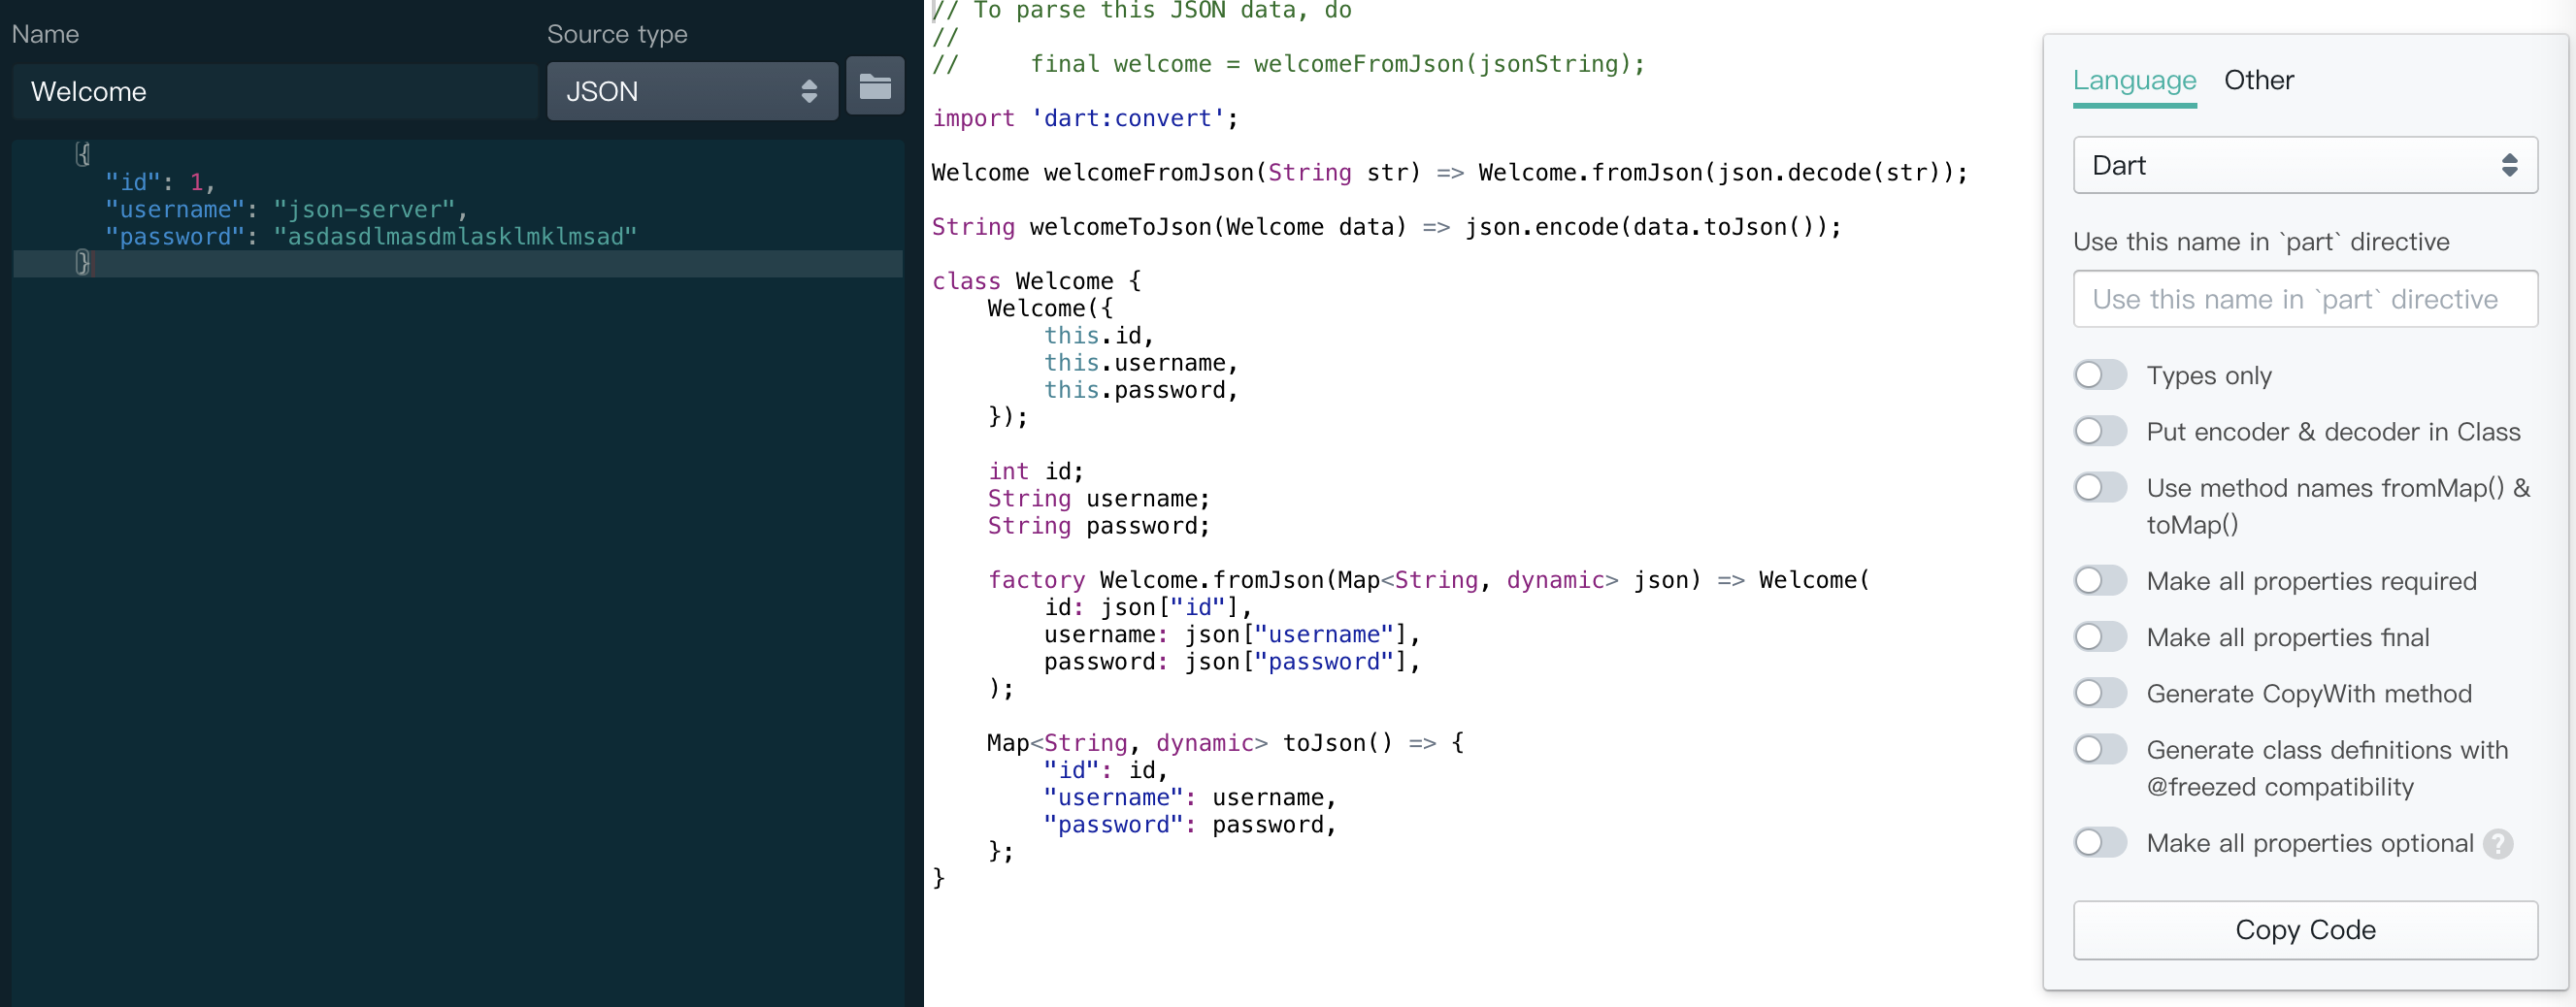
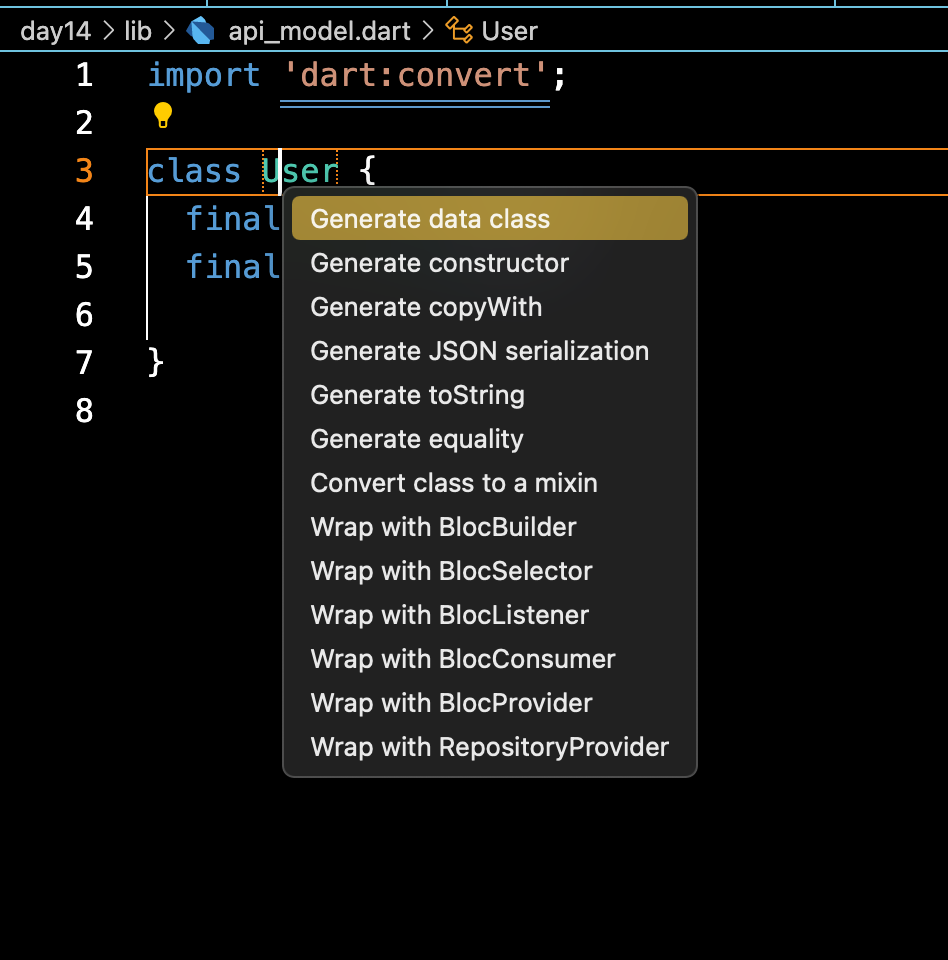
建立資料模型
不管是傳送還是接收都希望資料的格式是固定的,若為不固定的資料格式可能會導致APP有錯誤。可以利用Quicktype來生成我們的API模型(推薦新手),又或者自己新增一個Class再用快捷鍵(mac: command+. |win: control+.)來生成,不過這個需要自己先定義好。
API 接口管理
第一步我們一樣先創建一個API結構,要注意的是Android的模擬器接口是http://10.0.2.2:3000,IOS的接口是localhost:3000,而後面的port可以以自行修改(如果你的Local API Port是500就改500)。
1 | /// Android calls the http://10.0.2.2:3000/auth endpoint. |
實作API
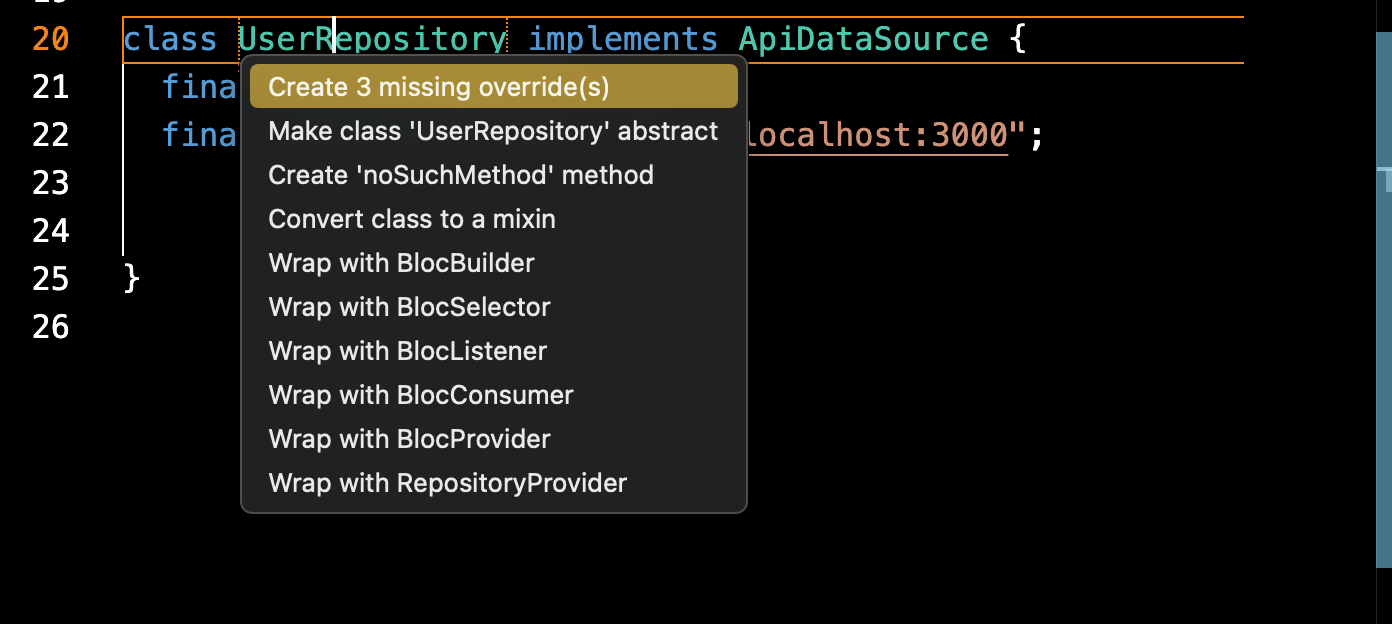
先創建一個domain(使用的API)和client(http請求),然後再對class名稱點擊快捷鍵,生成API框架。
1 | class UserRepository implements ApiDataSource { |
Http 常用三種請求
用這三個請求來實作創建使用者、取得使用者資料和更新使用者資料。
- POST:用於提交指定資源的實體,通常會改變伺服器的狀態(創建新資料)。
- GET:用於請求只應用於取得資料(取得資料)。
- PUT:用於取代指定資料請求(修改已存在資料)。
實作功能
我就以POST來做範例,首先使用client.post做POST請求,接著把使用者的資料模型轉成json的格式送出,請求成功後就可以得到response,你可以得到回應的資訊,完成後就可以用按鈕觸發了。
1 |
|
1 | TextButton( |